
How to Reduce Face Distortion in Image-to-Video
Reduce face distortion in image-to-video with a clearer source and simpler motion. Compare two real portrait clips and use a practical frame-by-frame checklist.
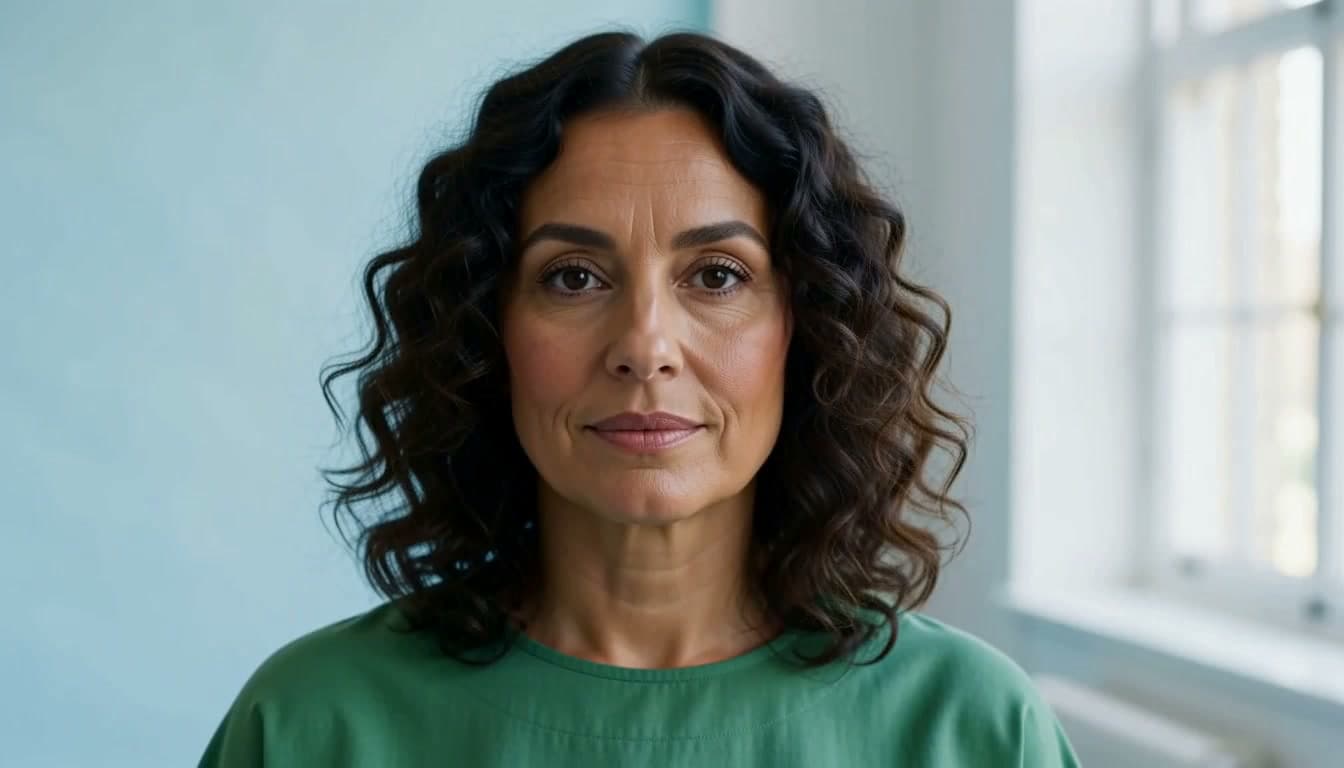
To reduce face distortion in image-to-video, begin with a clear face and a small amount of motion. Keep the camera still, remove overlapping actions, and compare the result with the source at several points in the clip. This makes problems easier to identify before you spend another generation changing the wrong part of the prompt.
There is no prompt that guarantees an unchanged identity. A distorted eye, a shifting mouth, and an unfamiliar face can have different causes. Treat each new request as a test with a specific question, rather than expecting the word "consistent" to solve all of them.
The examples here use a fictional adult portrait generated with H3 Max Turbo. We extracted one source frame and created two image-to-video clips: one with quiet motion, and one with a head turn, smile, hand movement, and camera motion. They are real outputs, not retouched before-and-after images.
Identify the problem before changing the prompt
Pause the clip where the face first looks wrong. Compare that frame with the source and with the frames immediately before it. A brief motion blur is different from an eye changing shape and remaining that way. A face disappearing behind hair is an occlusion; it is not automatically identity drift.
| What you see | First thing to inspect | A focused next test |
|---|---|---|
| Facial proportions change over time | Whether a large head turn or camera move reveals a new angle | Use a smaller turn with a fixed camera |
| Eyes or mouth become unstable | Blinking, smiling, speech, or overlapping expressions | Request one subtle expression or blink |
| Face becomes difficult to recognize | Hair, hands, shadows, or a strong angle hiding landmarks | Keep the face unobstructed and the light steady |
| The whole face looks soft | Source sharpness, movement, compression, and viewing size | Start with a sharper source and reduce motion before changing resolution |
| The result resembles another person | Both the starting image and later unobstructed frames | Simplify the scene and review a new short draft |
These are review directions, not diagnoses of the model's internal behavior. Several factors can be present in the same clip. Record the first visible problem so the next attempt answers one question.
Choose a source with visible facial landmarks
Use a source image in which the face is large enough to inspect at normal viewing size. Both eyes, the mouth, the jawline, and the hairline should be visible when those details matter to the intended shot. Heavy filters, deep shadows, and existing blur make comparison harder.
Leave room around the head. The image-to-video generator crops the image for your chosen aspect ratio. Check the composition before generating so the crop does not remove the forehead or chin. For a portrait, a source already close to the intended framing can save an unnecessary transformation.
Use images you own or have permission to animate. Our reference is synthetic, so the comparison makes no claim about preserving a real person's identity or likeness. Keep that distinction clear when evaluating examples from any tutorial.
Start with one blink and a fixed camera
The restrained request used this prompt:
The person holds the same relaxed pose and looks toward the lens. One gentle natural blink, quiet breathing, very slight movement in the hair. Keep the face, hairstyle and shirt unchanged. Locked-off camera, steady soft lighting, one continuous shot.
In this output, the face remains frontal and unobstructed. The blink is visible, and the composition stays close to the source. That makes it easier to compare the eyes, mouth, and outline of the face over time. It is a useful baseline for deciding whether to ask for more movement.
The comparison used five seconds and 768P, with balanced prompt expansion and a shared provider seed. The current web interface lets you choose duration and resolution; it does not expose the seed control used for these samples. Results can differ on another run. The sample record includes both prompts and the original synthetic portrait prompt.
See what several simultaneous actions change
The second request deliberately added more work to the shot:
The person turns her head sharply to the left and then back toward the lens, smiles broadly and raises one hand across her face. The camera rapidly circles around her while zooming in. Her hair swings across her eyes. One continuous shot.
The generated person is still recognizable in the visible frames. This is not a demonstrated failed face that the first prompt repaired. The comparison instead shows a review problem: the head turns away, expression changes, and a hand and hair obscure facial details. The camera also closes in, changing how much of the face fills the frame.
Those overlapping changes make it harder to isolate a problem if one occurs. If your output has an unstable mouth, for example, removing the hand crossing and camera move gives you a cleaner next test. That recommendation follows from making the comparison easier, not from a measured reduction in distortion across many generations.
For a closer look at the camera part of the prompt, read the camera movement guide.
Revise one variable and compare three moments
Keep the source image, aspect ratio, duration, and resolution unchanged for the next test where possible. Then adjust the instruction closest to the visible issue.
- Check the beginning. Does the opening view still resemble the source? If the crop or composition is already wrong, address that first.
- Check the main movement. Pause during the blink, turn, smile, or gesture. Find the first frame where a detail becomes unclear or changes unexpectedly.
- Check the end. Does the face return to a coherent view, or do changed proportions persist after the movement stops?
Suppose the face looks acceptable until a sharp turn. A useful next prompt might say "a slight head turn, with both eyes remaining visible" while keeping the camera fixed. If the mouth becomes unstable during a broad smile, test a smaller expression before changing the whole visual style.
H3 Max offers 5, 10, and 15 seconds at 480P or 768P. A five-second baseline limits the number of moments you need to inspect. Higher resolution can make a detail easier to see, but it does not establish that the model preserved identity. Check the credit cost before each request and keep notes about what you changed.
The prompt guide is useful when a revision has accumulated too many instructions. Return to one subject, one main action, and one camera choice. A fresh short prompt can be easier to evaluate than a long list of corrections layered onto an already crowded scene.
Questions about face distortion
Can a stronger identity-preservation sentence guarantee the same face?
No. Describing the details to keep can communicate your intention, but the output still needs review. Do not treat a preservation instruction as a guarantee, especially for recognizable real people.
Does increasing resolution fix a distorted face?
Higher resolution changes output detail. It is not proof that facial geometry or identity will remain stable. If the problem begins with a turn or gesture, test the movement as well as the resolution.
Does this comparison prove that subtle motion always works better?
No. There is one output per prompt from one synthetic portrait. Both clips contain recognizable facial detail. The restrained version is easier to inspect because fewer things change and the face stays visible; that is the limited conclusion supported here.
Can I repair one frame inside H3 Max?
The current workspace generates clips and supports further generation workflows. It does not provide a dedicated frame-by-frame face-retouching editor. For a localized repair, you may need a separate editing tool or a new generation with a simpler motion request.
Keep the next attempt specific
Reducing face distortion in image-to-video starts with a result you can inspect: a clear source, visible facial details, and a manageable amount of movement. Save an acceptable baseline before adding a larger expression or camera move. Try that baseline in Image to video, then compare each new request against the same source instead of judging the latest clip in isolation.