How to Animate Product Photos with H3 Max
Animate product photos with H3 Max using a clear starting image and controlled camera motion. Compare three real clips, their prompts, and the details to inspect.
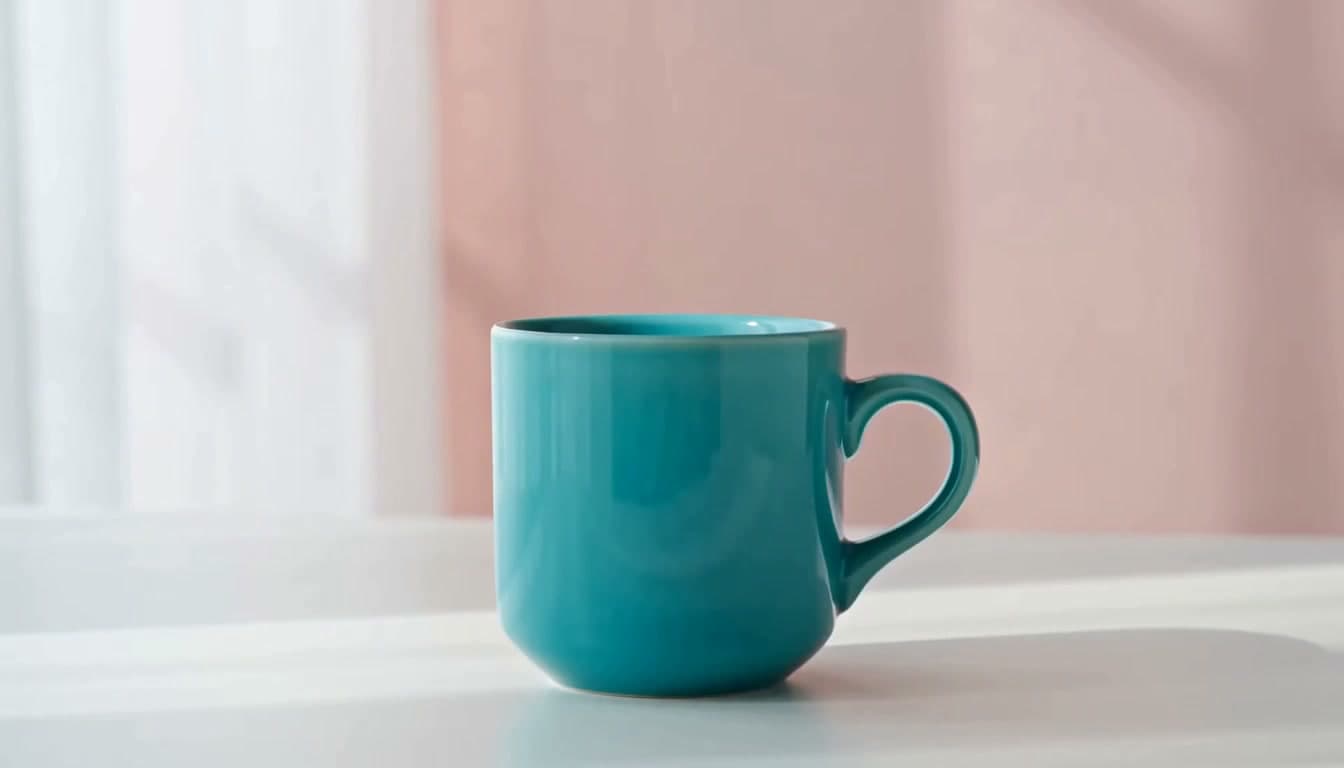
To animate product photos, start with an image that already shows the product correctly. Then direct a small amount of movement around it. A slow camera push can give a still photograph depth without asking the model to invent the back of a package, a hidden handle, or a different label.
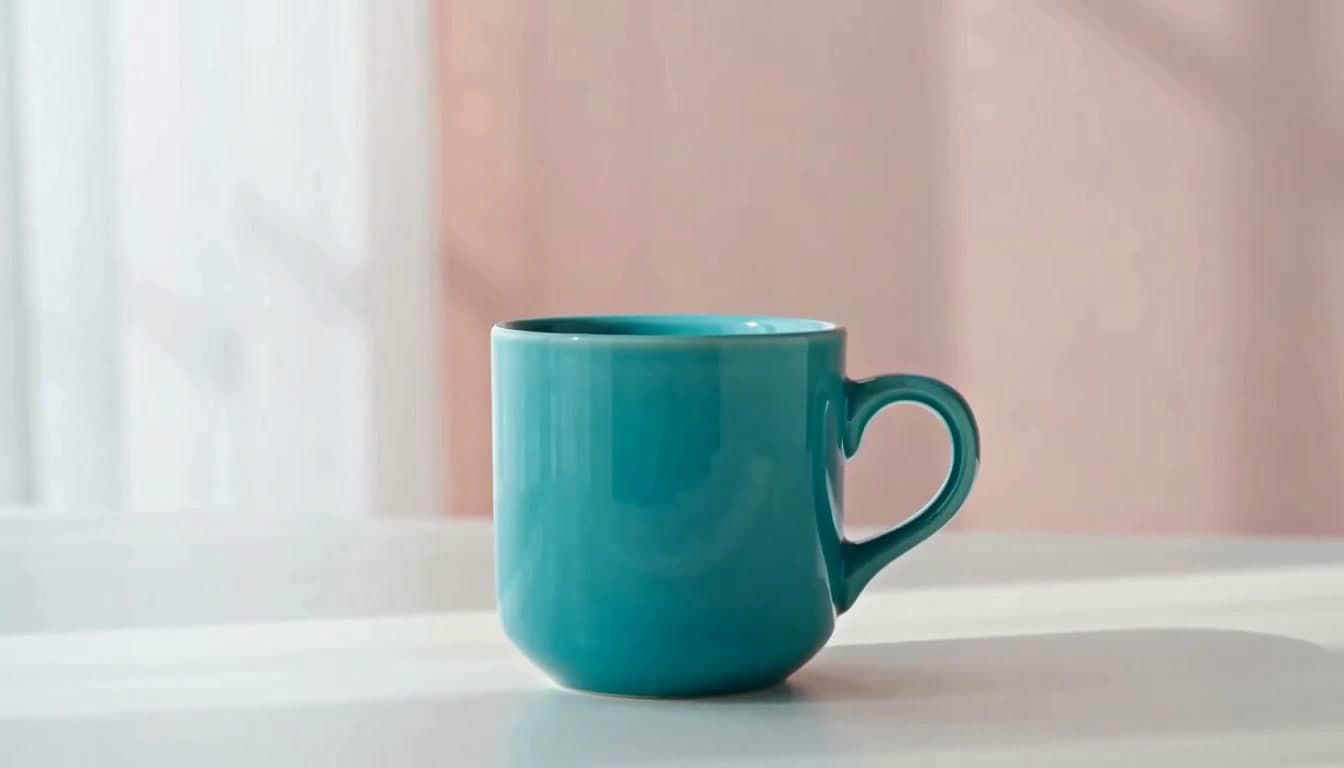
In this tutorial, the subject is a turquoise ceramic mug. We generated the source scene with H3 Max Turbo, extracted a frame, and used that same frame for three image-to-video requests. The mug is a synthetic example, not a photograph of a real item for sale. The clips below are the actual generated outputs.
For your own product, use a photograph you own or have permission to use. Open the image-to-video generator when you are ready to try the workflow. The sample record includes the full source prompt, comparison prompts, settings, and generated file dimensions.
Prepare a product photo that leaves room for movement
Choose a sharp image with the whole product visible. In the mug example, the rim, base, and handle are all inside the frame. That gives you recognizable edges to check later. An already cropped handle makes it much harder to judge whether the model preserved the object.
Leave some background around the product, especially in the direction the camera will move. When a shot starts very close to the subject, even a modest push can crop important details before the clip ends. A little room on all sides is useful when you are still deciding between a square and a vertical composition.
H3 Max accepts JPG, PNG, or WebP input under 10 MB. The interface prepares the image for the selected aspect ratio, which can crop it. Check that composition before generating. A landscape catalog photograph may need a new crop or a different source image for a 9:16 shot.
For packaging, include readable lettering and a clear outline in the original image. This gives you a reference to inspect; it does not guarantee the lettering will stay correct. If a product has text that must be exact, plan to verify every visible frame or add that text later in a conventional video editor.
Write a motion prompt for the product photo
An uploaded image already describes color, texture, and appearance. Spend most of the prompt on what changes over time. For this example, the product stays still while the camera moves.
Our first prompt was:
The ceramic mug stays completely still. The camera slowly moves closer in a straight line at tabletop height. Keep the entire handle visible and preserve the rim, handle shape, turquoise glaze and white tabletop. Soft window light remains constant. One continuous shot.
This identifies the moving element, its direction, and a few details that matter. It also gives you a simple review question: did the camera move closer while the mug stayed recognizable?
Avoid adding several incompatible directions such as an orbit, a zoom, a pan, and a product spin to the same short shot. Those are separate creative choices. You can test them individually and keep the one that suits the product.
The prompt guide explains the broader subject, action, camera, setting, and light structure. For image-to-video, the source image supplies much of that context, so the written instruction can be shorter.
Generate a short draft and inspect the result
- Open Image to video and upload the source image.
- Choose the aspect ratio for the intended composition.
- Start with a five-second clip and enter one motion prompt.
- Check the displayed credit cost, then generate.
- Watch the completed clip and compare its beginning, middle, and end with the source.
H3 Max offers 5, 10, and 15 seconds, with 480P or 768P output. The clips here used five seconds, 768P, the same source image, the same seed, and balanced prompt expansion. Seed is a provider setting used to keep this example consistent; it is not a control in the current web interface. Prompt expansion can still change the instruction that reaches the underlying model.
The pricing page shows credits and purchase options. A short first test keeps the review manageable. Increasing duration or resolution is a separate decision after you have a motion direction worth keeping.
A slow push toward the mug
The mug grows larger through the shot. Near the end, the base approaches the bottom edge. This is a useful reminder to leave more space than the initial still seems to need. The camera instruction is visible in the result, but framing still needs review.
A short orbit around the mug
For the second request, the camera instruction became:
The ceramic mug stays completely still. The camera slowly arcs a short distance to the right around the mug at tabletop height. Keep the rim and handle shape unchanged, preserve the turquoise glaze and white tabletop. Soft window light remains constant. One continuous shot.
The viewpoint changes modestly. Watch the handle, its connection to the body, and the shadow as the shot progresses. An orbit asks the model for information beyond the original view. For a real product, compare the result against additional photographs before accepting newly revealed geometry.
A sideways camera slide
The third request used:
The ceramic mug stays completely still. The camera slowly slides to the right parallel to the tabletop, maintaining the same distance and height. Keep the entire handle visible and preserve the rim, handle shape, turquoise glaze and white tabletop. Soft window light remains constant. One continuous shot.
This version keeps a relatively similar product size while the framing changes. Compare the background edges and tabletop shadow with the orbit clip. The difference is subtle in this scene. These are examples of how the model interpreted the prompts, not proof that it obeys a precise camera path.
For more ways to describe these movements, see the camera movement examples.
Check product accuracy before using a clip
Review the object itself before deciding whether the motion looks attractive. A smooth camera move is not enough when the video is supposed to represent a specific item.
| Detail | What to compare | What to try when it changes |
|---|---|---|
| Outline and proportions | The rim, corners, handle, and base against the source | Reduce the camera angle change or use a more frontal photograph |
| Text and logos | Each visible character throughout the shot | Use a smaller move; consider a separately composited label |
| Surface and color | Glaze, fabric, reflections, and color under the light | Keep lighting instructions steady and remove unrelated style changes |
| Framing | Whether essential details leave the frame | Start wider or use a smaller push |
| Background | New objects, shifting edges, and unstable shadows | Simplify the setting and remove background-action instructions |
These adjustments are practical tests, not guaranteed fixes. The mug comparison contains one output per prompt. It does not establish a success rate or prove that one motion is best for every product. Glass, reflective metal, printed packaging, and soft fabrics can produce different problems.
Keep the original product photograph beside the video while reviewing. When the object is commercially important, familiarity with the real item matters more than how convincing an isolated frame looks.
Questions about product photo animation
Can H3 Max keep a logo exactly the same?
There is no guarantee of exact logo or lettering preservation. Inspect the output closely. For text that must be correct, a traditional overlay or compositing step may be more suitable than relying on generation alone.
Should the product rotate or should the camera move?
Choose based on the view you need. A camera push can work from a single clear photograph. A rotation or wider orbit reveals surfaces that may not exist in the source image, so you will need to check the invented view against the real product.
Are the examples photographs of a real mug?
No. The source was extracted from a generated H3 Max Turbo scene. The three comparison videos were then generated from that same image. The example demonstrates the workflow and its review points without claiming to document a real product.
Finish with a shot you can verify
To animate product photos reliably enough for your use case, keep the first experiment small: one source, one camera direction, and one short clip. Review the product's shape, text, and framing before adding more movement. Use Image to video for your own source, and keep successful outputs beside their prompts so the next revision has a clear starting point.